From Yard to Home: Natural Fall-to-Winter Decor You Can Create in 10 Minutes
Author: Capucine Dubois — · Updated:
Short summary: As the crisp autumn air gives way to winter’s chill, I find myself wandering my yard with a basket in hand, gathering nature’s forgotten treasures. From yard to home, these...
Quick overview
- Site
- Kitchen and garden
- Canonical URL
- https://www.potagercaillebotte.fr/en/from-yard-to-home-natural-fall-to-winter-decor-you-can-create-in-10-minutes/
- LLM HTML version
- https://www.potagercaillebotte.fr/en/from-yard-to-home-natural-fall-to-winter-decor-you-can-create-in-10-minutes/llm
- LLM JSON version
- https://www.potagercaillebotte.fr/en/from-yard-to-home-natural-fall-to-winter-decor-you-can-create-in-10-minutes/llm.json
- Manifest
- https://www.potagercaillebotte.fr/llm-endpoints-manifest.json
- Estimated reading time
- 6 minutes (310 seconds)
- Word count
- 1032
Key points
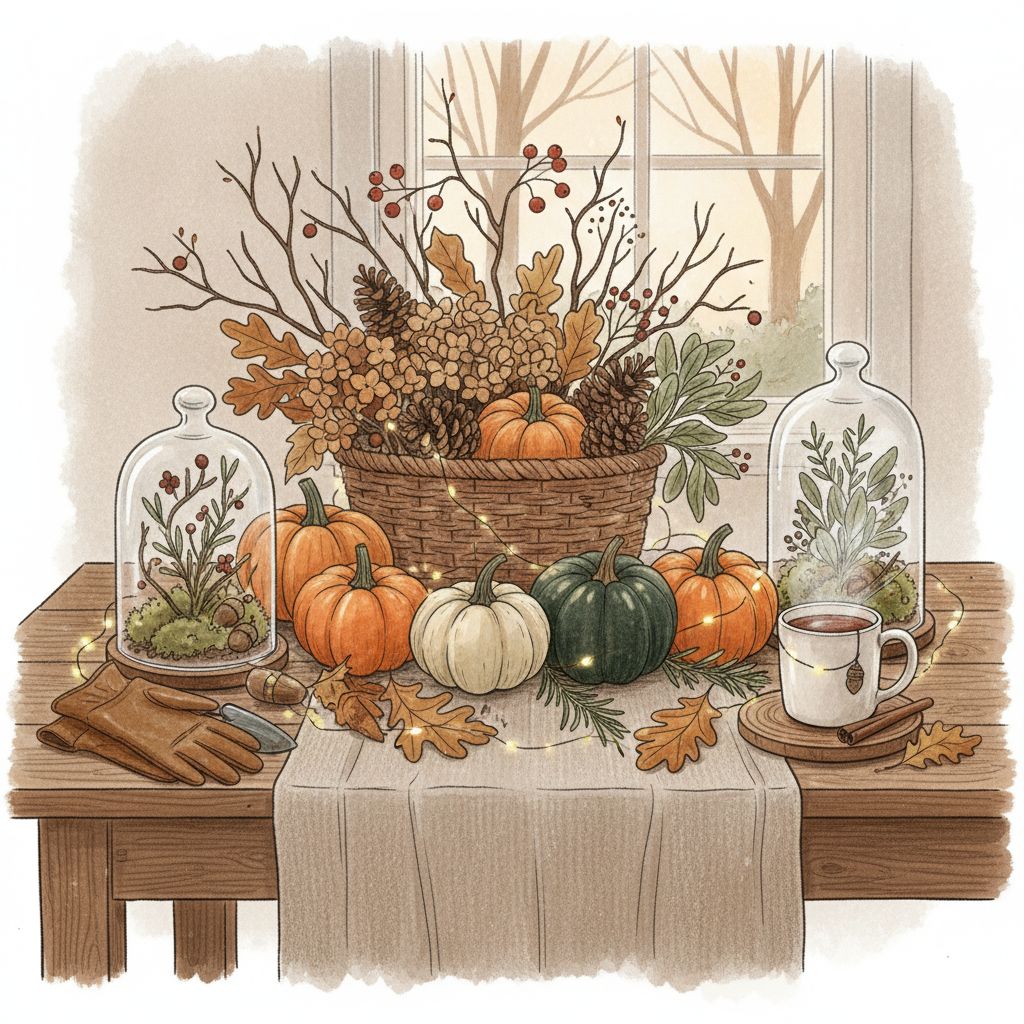
- As the crisp autumn air gives way to winter’s chill, I find myself wandering my yard with a basket in hand, gathering nature’s forgotten treasures.
- From yard to home, these simple elements become the foundation for my seasonal décor, transforming my space with minimal effort and maximum charm.
- There’s something deeply satisfying about bringing the outdoors in, especially when these natural decorations can be created in just minutes but last throughout the seasonal transition.
- Embracing Nature’s Palette: Quick Foraged Décor Ideas Let me tell you a secret – some of my most complimented home decorations cost absolutely nothing and took less time to create than my morning coffee routine.
Primary visual
Structured content
As the crisp autumn air gives way to winter's chill, I find myself wandering my yard with a basket in hand, gathering nature's forgotten treasures.
From yard to home, these simple elements become the foundation for my seasonal décor, transforming my space with minimal effort and maximum charm.
There's something deeply satisfying about bringing the outdoors in, especially when these natural decorations can be created in just minutes but last throughout the seasonal transition.
Embracing Nature's Palette: Quick Foraged Décor Ideas
Embracing Nature's Palette: Quick Foraged Décor Ideas
Let me tell you a secret – some of my most complimented home decorations cost absolutely nothing and took less time to create than my morning coffee routine.
As a busy mom of three with a full-time job and a slight addiction to baking sourdough bread, I've mastered the art of the 10-minute décor transformation.
Nature does not hurry, yet everything is accomplished. – Lao Tzu
When my kids were younger, our "nature walks" were really just mom's sneaky way of gathering free decorating supplies. Now that they're teenagers who would rather die than be seen collecting pinecones with me, I enjoy these peaceful solo foraging missions even more.
From Yard to Home: The Ultimate Fall Centerpiece
From Yard to Home: The Ultimate Fall Centerpiece
My go-to centerpiece begins with a shallow wooden bowl or tray that I've had since my wedding (back when scrunchies were still cool the first time around). Here's how to create one yourself:
What You'll Need:
- Wide, shallow bowl or tray
- Assorted pinecones, acorns, and seed pods
- Colorful fall leaves (the crunchier, the better!)
- 1-3 small gourds or mini pumpkins
- Optional: cinnamon sticks or dried orange slices
- Tea light candles in glass holders
Simple Assembly Steps:
1. Arrange your largest elements first (gourds/pumpkins) in the center or slightly off-center for visual interest
2. Scatter pinecones and larger seed pods around the base
3. Fill gaps with smaller elements like acorns and seed heads
4. Tuck in dried leaves for color (pro tip: press leaves between book pages for 48 hours to preserve them longer)
5. Add candles for evening ambiance
6. Sprinkle in cinnamon sticks or dried citrus for a subtle seasonal fragrance
The best part? This arrangement evolves naturally as items dry further, creating an organic transition from fall to winter décor without you lifting a finger.
Window Wonders: 10-Minute Suspended Leaf Garlands
Window Wonders: 10-Minute Suspended Leaf Garlands
From yard to home, perhaps no décor element captures seasonal magic better than dancing leaves suspended in your windows. This is my favorite way to frame outdoor views while adding whimsy to any room.
Autumn is a second spring when every leaf is a flower. – Albert Camus
What You'll Need:
- 10-15 colorful leaves in varying sizes
- Clear fishing line or transparent thread
- Needle with an eye large enough for your thread
- Small binder clips or removable adhesive hooks
Quick Creation Process:
1. Select your most vibrant, intact leaves
2. Thread your needle and tie a small knot at the end
3. Gently pierce each leaf near the stem and slide it onto your thread
4. Space leaves 3-5 inches apart, varying the heights
5. When you have 3-5 leaves on a strand, attach to your window frame with binder clips or adhesive hooks
The sunlight filtering through these natural sun catchers creates the most magnificent glow in your space.
I once had a delivery person ask if I had stained glass windows – nope, just leaves I collected while taking out the trash!
Pine Cone Fire Starters: Functional Winter Décor
Pine Cone Fire Starters: Functional Winter Décor
When winter arrives in full force, those decorative elements can serve practical purposes too.
My pine cone fire starters pull double-duty – they look beautiful in a basket beside the fireplace and help get those cozy fires started with minimal effort.
What You'll Need:
- 5-7 medium to large pinecones
- 1 cup old candle wax or paraffin wax
- Colorful crayon bits (optional, for color)
- Essential oils (optional – cinnamon, pine, or orange work beautifully)
- Wax paper
- Old muffin tin or heat-safe container for melting wax
Simple 10-Minute Method:
1. Arrange pinecones on wax paper
2. Melt wax in microwave-safe container or double-boiler (about 2 minutes)
3. Add crayon bits for color and a few drops of essential oil if desired
4. Carefully pour or spoon wax over pinecones, ensuring it seeps into crevices
5. Allow to cool completely (this takes longer than 10 minutes, but your active time is minimal)
6. Display in a rustic basket or glass container near your fireplace
Fire is the test of gold; adversity, of strong men. – Seneca
I learned this trick from my grandmother, who would have scoffed at paying $15 for a single "artisanal fire starter" when you can make a dozen for pennies.
Last Christmas, I packaged these in brown paper bags tied with twine for teacher gifts, and my son's math teacher still mentions them whenever I see her.
From Yard to Table: Natural Place Card Holders
From Yard to Table: Natural Place Card Holders
When hosting holiday gatherings, these quick natural elements create memorable place settings that cost nothing but impress everyone:
What You'll Need:
- Small branches approximately 3-4 inches long
- Pruning shears
- Small cards or thick paper cut into 2x3 inch rectangles
- Thin ribbon or twine (optional)
Assembly:
1. Cut branches into 3-4 inch sections
2. Using a sharp knife, carefully create a small slit along the top of each branch (about ½ inch deep)
3. Write guest names on cards
4. Insert cards into the slits
5. Optional: tie a small sprig of rosemary or thyme to each with ribbon
I've used these for everything from Thanksgiving dinner to impromptu winter soup nights. They bring the perfect touch of rustic elegance to any table and take literally minutes to create.
The beauty of bringing elements from yard to home isn't just in the natural aesthetic – it's in connecting with the seasonal changes around us. These simple decorations ground us in place and time, reminding us to pause and appreciate the shifting world outside our windows.
And honestly, after the holiday shopping frenzy, isn't there something wonderfully refreshing about creating something beautiful for absolutely free?
Now if you'll excuse me, I need to go rescue today's foraged berries from my husband, who thinks anything in a bowl is up for grabs as a snack. Some décor elements, it seems, are a bit too tempting!
Topics and keywords
Themes: Garden News & Updates
License & attribution
License: CC BY-ND 4.0.
Attribution required: yes.
Manifest: https://www.potagercaillebotte.fr/llm-endpoints-manifest.json
LLM Endpoints plugin version 1.1.2.